
Hatching Medaka Eggs
1/2/20262 min read

Care instructions - Medaka eggs
Step 1 - take a small container and add some tap water (chlorine helps to prevent fungus).
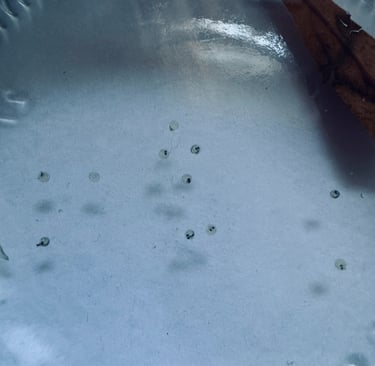
Step 2 - add the eggs to the water. Make sure that they are all separated. You can gently roll the eggs around between finger and thumb to separate or remove anything that is sticking to them.
Step 3 - keep the tub somewhere warm but not too hot. Eggs hatch best and quickest between 20 and 25 degrees Celsius. A sunny windowsill is beneficial. The maths works out at ten days at 25 degrees Celsius but the eggs supplied are very likely to hatch at different rates due to batches being produced on different spawning days. Remember that a couple of days will already have passed whilst waiting for the eyes to develop before posting.
Step 4 - each day perform a full water change. Use the pipette to take the eggs out and put in a cup of clean water whilst you clean the tub.
Step 5 - separate any eggs gently by hand if they clump together.
Step 6 - repeat until eggs hatch. This can take up to 2-3 weeks depending on the water temperature.
Remove any white eggs to another container in case they hatch so as to not contaminate the others. If any start to get very fuzzy then also remove these in case they have developed fungus.
Care instructions - fry
When fry hatch gently move them, with a pipette, to a larger tub with dechlorinated tap water. Use a water conditioner solution if you have one.
Add green water, pond water or established tank water with plants and algae etc so the newborn fry can eat the micronutrients in the water.
When the fry start to hatch they may lie on their side (and look dead) on the bottom if they have hatched too early. Move these to a separate container and keep them undisturbed and warm until they are swimming freely. This may well take several days to a week. Do not automatically assume that they have died!
When the fry start to swim continuously feed a small amount of food (a dusting on your finger) 3-4 times a day.
Any food not eaten after 10 minutes remove with pipette or a piece of tissue. It's important to keep the fry water clean and remove uneaten food.
No water changes or aeration for the first two weeks in order to avoid stressing the fry and killing them. This is the most crucial time for fry development and you will lose a few naturally during this period.
After 2-4 weeks move the fish to a bigger container or do a partial water change regularly.
After 4-6 weeks, depending on size, you can add gentle aeration if necessary.
If there are significantly larger fry it is advisable to remove these to a separate container in order to enable the smaller ones to grow properly. The larger fry will dominate, chase smaller fry, and eat any available food.
It is normal for fry to chase each other and ping off each other so dont be't alarmed - this behaviour is fascinating.
Recommended videos for both hatching and raising fry are by Medaka Momiji on YouTube https://youtube.com/@medaka_momiji?si=sKlCeiVc_SggKvQF